In this post, we will write a simple TODO app using SvelteKit and Serverless Redis (Upstash).
SvelteKit is a framework for building web applications of all sizes, with a beautiful development experience and flexible filesystem-based routing.
Create project
Run the below command:
npm init svelte@next todo-app-with-redis
The project is ready. Now let's install the dependencies and run:
npm installnpm run dev
The User Interface
We create a simple form and a list to keep the todo items. It will be empty for now, later we will bind it to the database.
// src/routes/index.svelte

<script lang="ts">
  import type {Todo} from "../lib/types";
  import TodoItem from "../components/Todo.svelte";

  export let todos: Todo[] = [
    {
      id: '1',
      text: 'Create database',
      status: true
    },
    {
      id: '2',
      text: 'Copy database url',
      status: false
    }
  ];

  const uncheckedTodos = todos.filter((todo) => !todo.status);
  const checkedTodos = todos.filter((todo) => todo.status);
</script>

<main class="container">
  <form class="new" action="/" method="post">
    <input
      type="text"
      name="text"
      autofocus
      aria-label="Add todo"
      class="input"
      placeholder="What needs to be done?"
    />
  </form>

  {#if uncheckedTodos.length}
    <div class="todos">
      {#each uncheckedTodos as todo (todo.id)}
        <TodoItem {todo}/>
      {/each}
    </div>
  {/if}

  {#if checkedTodos.length}
    <div class="todos todos-done">
      {#each checkedTodos as todo (todo.id)}
        <TodoItem {todo}/>
      {/each}
    </div>
  {/if}
</main>
Here is our TODO component:
// src/components/Todo.svelte

<script lang="ts">
  import type {Todo} from "../lib/types";

  export let todo: Todo;
</script>

<div class="todo">
  <form action="/?_method=PATCH" method="post">
    <input type="hidden" name="todo" value={JSON.stringify(todo)}/>
    <button
      class="checkbox"
      aria-label="Mark todo as {todo.status ? 'not done' : 'done'}"
    >
      {todo.status ? "✓" : ""}
    </button>
  </form>

  <span class="text">{todo.text}</span>

  <form action="/?_method=DELETE" method="post">
    <input type="hidden" name="id" value={todo.id}/>
    <button class="delete" aria-label="Delete todo">✕</button>
  </form>
</div>
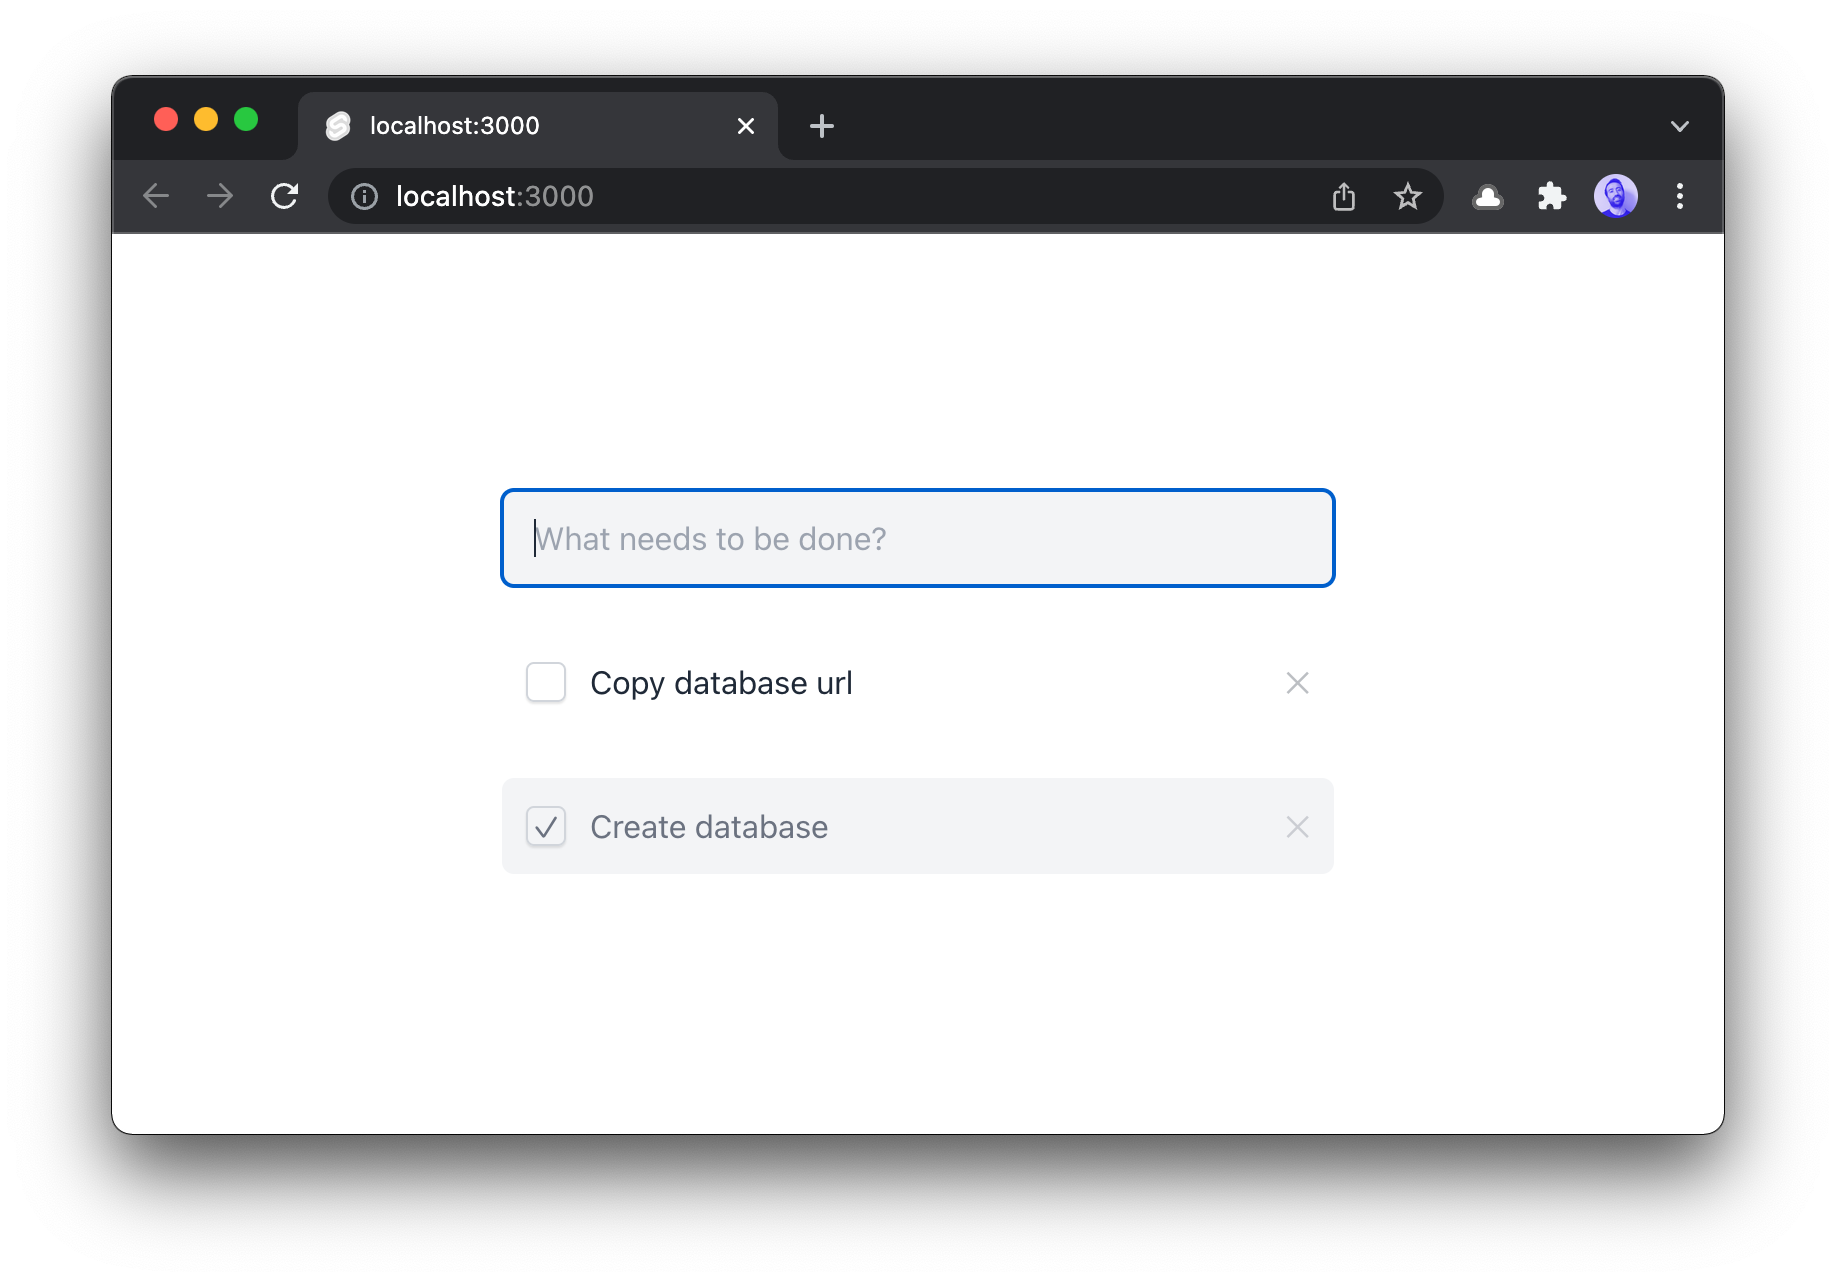
Now you should see:

Prepare the database
We will keep our data in Upstash Redis. So create an Upstash database. We will use HTTP based Upstash client which is friendly with Serverless environments. Let's install:
npm install @upstash/redisNow let's create our Redis database on Upstash Console.
Copy/paste the UPSTASH_REDIS_REST_URL
and UPSTASH_REDIS_REST_TOKEN to the .env file.
UPSTASH_REDIS_REST_URL=https://global-renewing-gecko-31543.upstash.io
UPSTASH_REDIS_REST_TOKEN=AXs3ACsjfg684jJBFQgN34je7RFJ58wYjg4NjMt=
We need to install dotenv to use the environment variables.
npm install dotenvNow create lib/redis.ts and create a new Redis instance as below:
// src/lib/redis.ts

import "dotenv/config";
import { Redis } from "@upstash/redis";

export const databaseName =
  process.env.NODE_ENV === "development"
    ? "redis-with-svelte-kit-dev"
    : "redis-with-svelte-kit";

const redis = new Redis({
  url: process.env.UPSTASH_REDIS_REST_URL,
  token: process.env.UPSTASH_REDIS_REST_TOKEN,
});

export default redis;
Create API
In the folder, the js/ts files is used as API backend. So index.svelte -> frontend, index.ts -> backend.
Let's create index.ts and add the required API methods.
// src/routes/index.ts

import redis, { databaseName } from "../lib/redis";
import type { RequestHandler } from "@sveltejs/kit";

const redirect = {
  status: 303,
  headers: {
    location: "/",
  },
};

export const get: RequestHandler = async () => {
  // runs every time the page is loaded
  return { body: { todos: [] } };
};

export const post: RequestHandler = async ({ request }) => {
  // form: create todo
  return redirect;
};

export const patch: RequestHandler = async ({ request }) => {
  // form: update todo
  return redirect;
};

export const del: RequestHandler = async ({ request }) => {
  // form: delete todo
  return redirect;
};
POST Create Todo
Let's implement the TODO item creation:
// src/routes/index.ts

export const post: RequestHandler = async ({ request }) => {
  const form = await request.formData();
  const text = form.get("text");
  const id = Date.now().toString();

  const todo = JSON.stringify({ text, status: false });

  await redis.hset(databaseName, id, todo);
  return redirect;
};
GET Load Todos
Now, let's list the TODO items:
// src/routes/index.ts

export const get: RequestHandler = async () => {
  let todos = [];

  const data = await redis.hgetall(databaseName);
  if (!data) return { body: { todos } };

  // normalize data
  todos = Object.keys(data)
    .map((key) => ({
      id: key,
      text: data[key]["text"],
      status: data[key]["status"],
    }))
    // id = timestamp
    .sort((a, b) => parseInt(b.id) - parseInt(a.id));

  return { body: { todos } };
};
To keep the post simple, I did not add
task deletionandtaks completioncode here, but you can see them in the github repo.
Now everything is ready!
I am planning to implement the same TODO application with Next.js. Then I will compare my experience in these frameworks.
