GitHub Repository
You can find the project source code on GitHub.
Deploy With Vercel
Deploy the project to Vercel with a single click.
Prerequisites
- Node.js and npm (or another package manager) installed.
Step 1: Installation
Run the following command to install the Upstash Workflow SDK in your Next.js app.- npm
- pnpm
- bun
Step 2: Set up the development server
Upstash Workflow is built on top of Upstash QStash. In a production environment, your application connects to the managed QStash servers hosted by Upstash. This ensures that requests are delivered reliably, securely, and at scale without requiring you to run and maintain your own infrastructure. For local development, you don’t need to depend on the managed QStash servers. Since you are using@upstash/workflow, you can just set QSTASH_DEV=true, and the SDK will download, start, and connect to a local QStash development server automatically — no tokens or signing keys to copy over.
In the root of your project, create a .env.local file (or update your existing one):
.env.local
serve() endpoint pick up the dev server automatically, including signature verification, so there’s nothing else to configure. The local server behaves just like the production version but does not require external network calls.
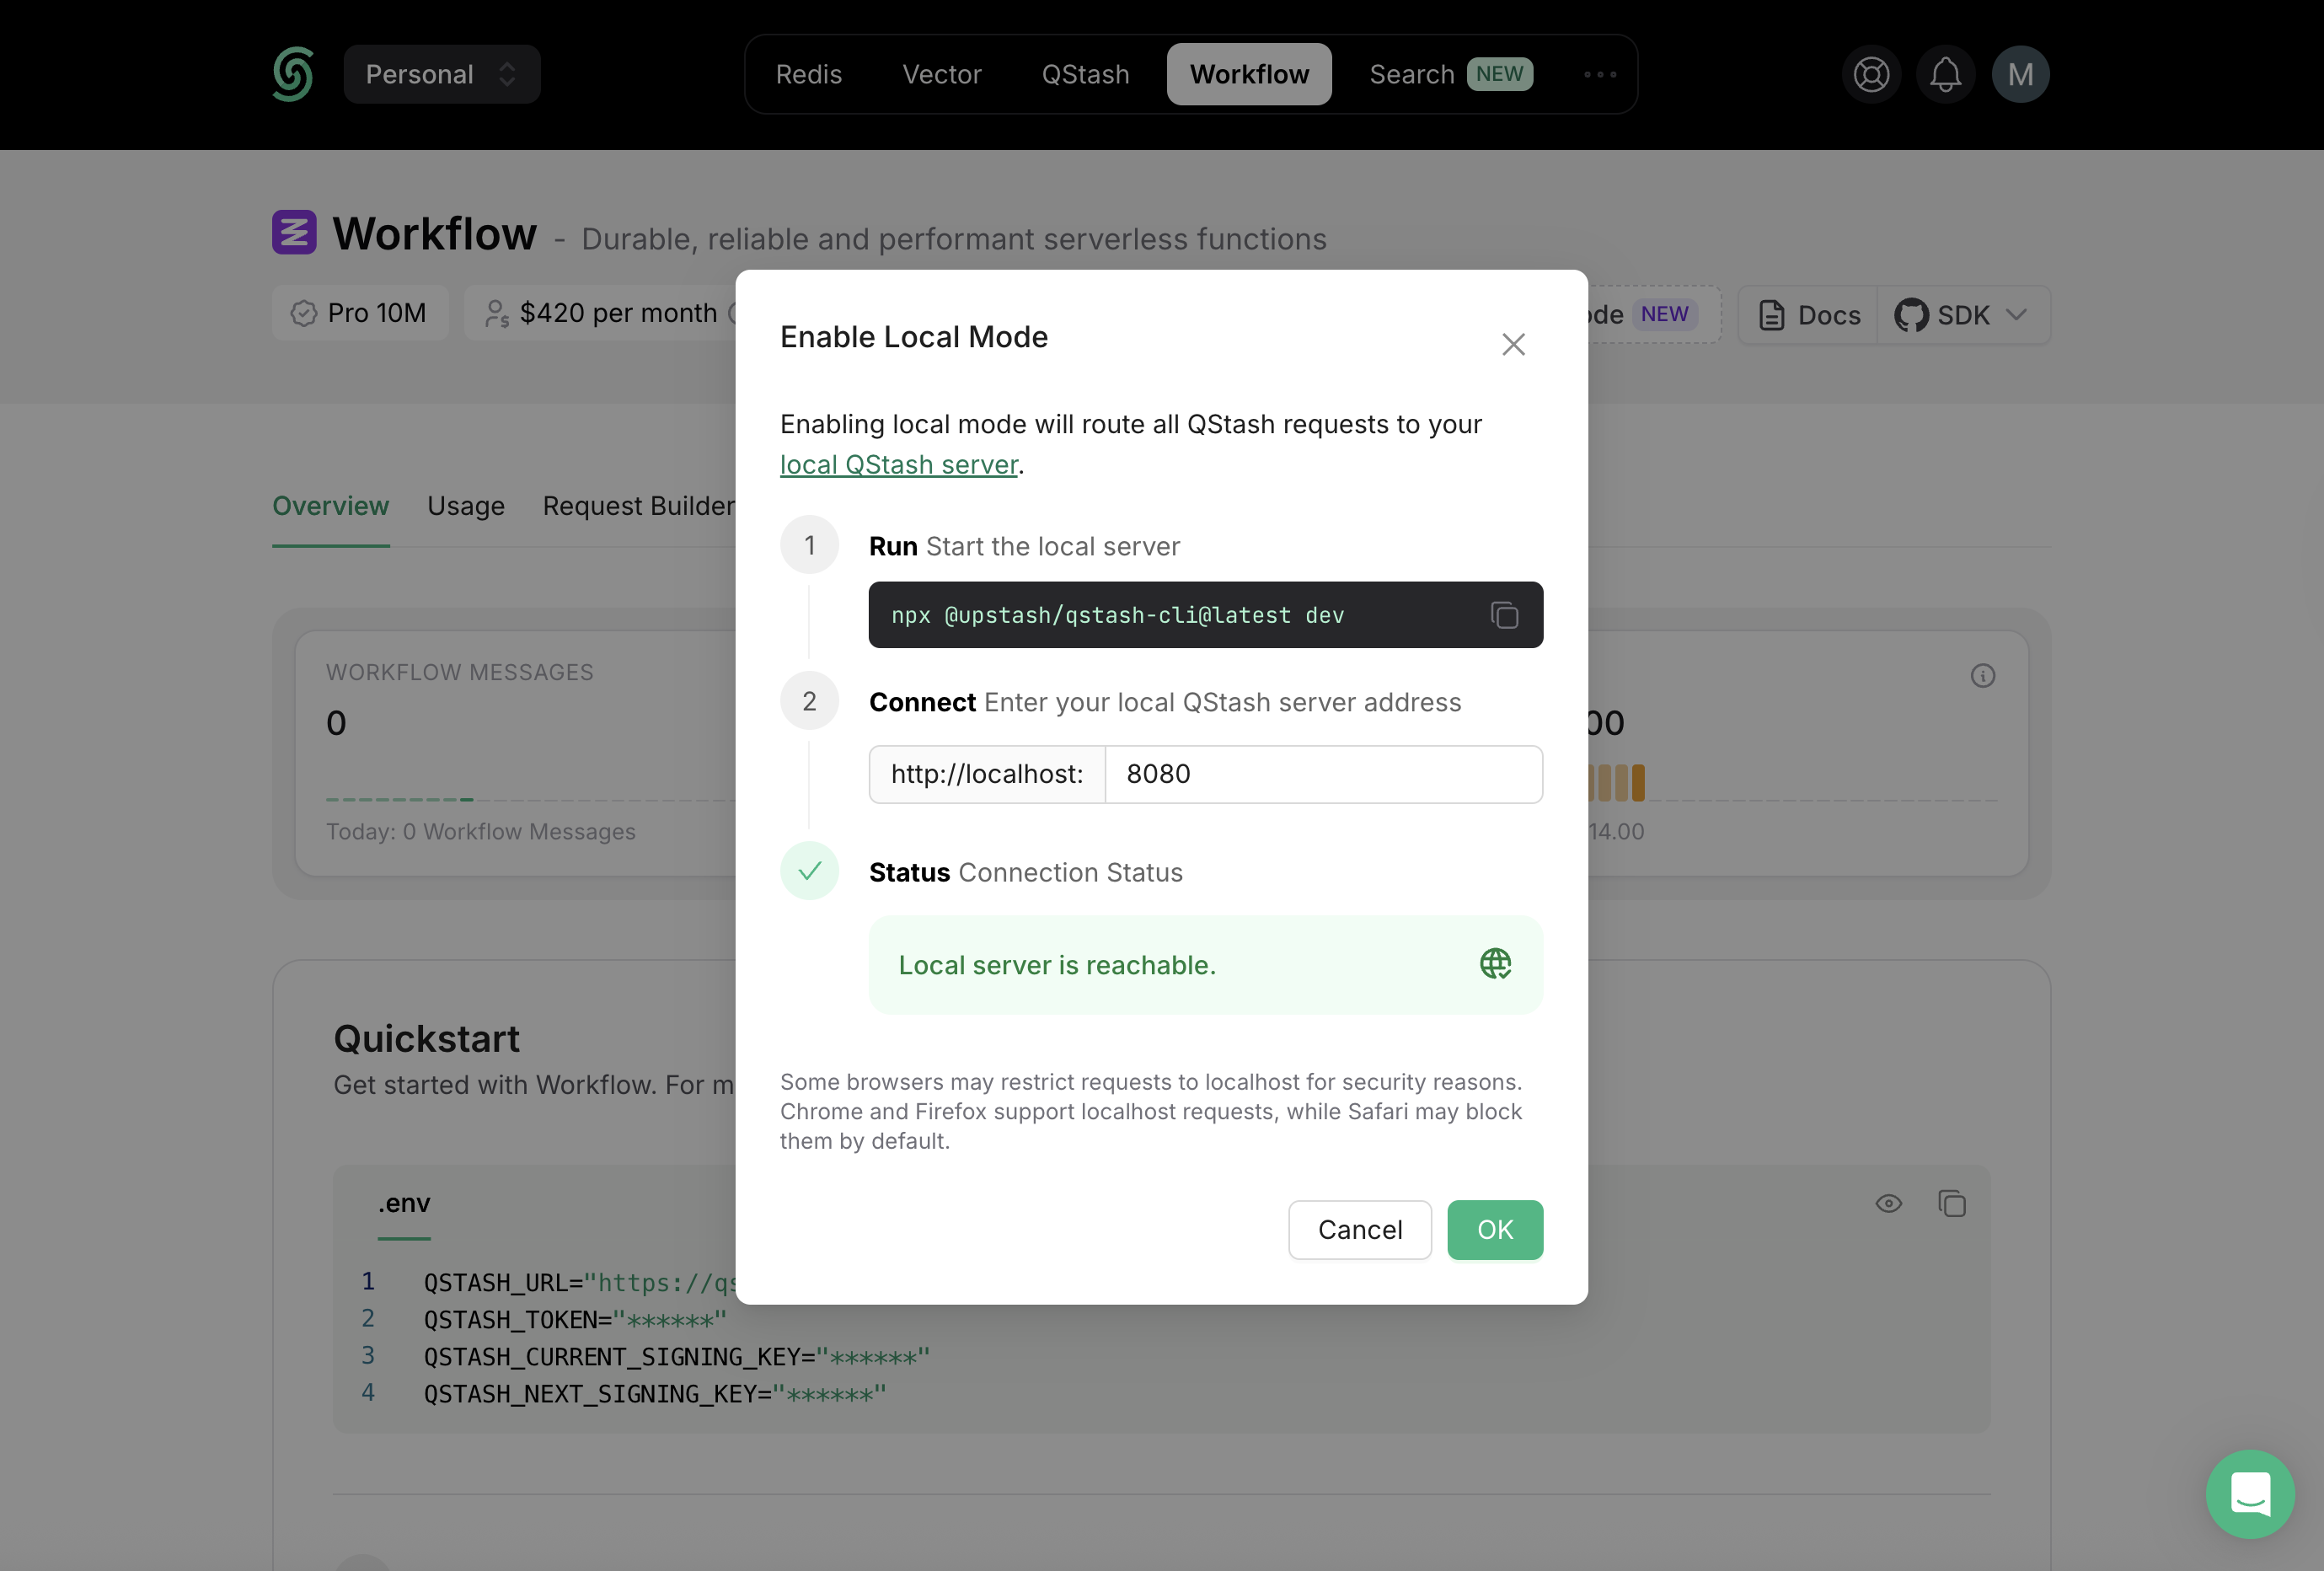
You can enable local mode in the Upstash Workflow dashboard to use the UI while developing locally.
For production, set your actual credentials from the Upstash Workflow dashboard instead of
QSTASH_DEV.Step 3: Create a Workflow Endpoint
With your environment ready, the next step is to define your first workflow endpoint. In Upstash Workflow, every workflow is exposed as an endpoint. Every endpoint you expose using the SDK’sserve() function acts as a workflow that can be triggered independently.
In Next.js, these endpoints are implemented as API routes.
Create the file according to your router setup:
- App Router → put the endpoint under
app/api - Pages Router → put the endpoint under
pages/api
- App router
- App router with request object
- Pages Router
- Pages Router with request object
app/api/workflow/route.ts
Step 4: Run the Workflow Endpoint
Once your endpoint is defined, the next step is to trigger a workflow run. You can start a new workflow run using thetrigger() function from the Upstash Workflow SDK.
The
trigger() function should typically be called from a server-side action (not directly in client-side code) to keep your credentials secure.
Step 5: Deploying to Production
You now have everything you need to deploy your application to production! 🎉 Before deploying, make sure your configuration no longer relies on local development settings:- Workflow URL: Update the
trigger()call to use your production domain (see the tip above for using a dynamicBASE_URL). - Credentials: Remove
QSTASH_DEV=trueand set your productionQSTASH_TOKENand signing keys from the Upstash Console (see Get your QStash Token). - Environment Variables: Verify that all required variables are set correctly in your deployment environment.
Next Steps
Now that you’ve created and deployed your first workflow, here are some recommended guides to continue learning:- Learn the Workflow API: Dive deeper into the full API surface and advanced capabilities.
- Configure Workflow Runs: Learn how to configure workflow execution to fit your app’s needs.
- Handle Failures: Understand how to detect and recover from failed workflow runs.